
Tile Installation

Preparing for Tile Installation
Before installing tile flooring, thorough preparation is essential to ensure a smooth and long-lasting finish. The subfloor must be clean, dry, and level to prevent cracks or uneven tiles. Remove any existing flooring material and check for moisture issues, especially in areas prone to humidity. Measuring the space accurately and planning the tile layout in advance helps minimize waste and ensures a symmetrical design. If necessary, a backer board should be installed to provide a solid foundation for the tile.
tile Installation Process
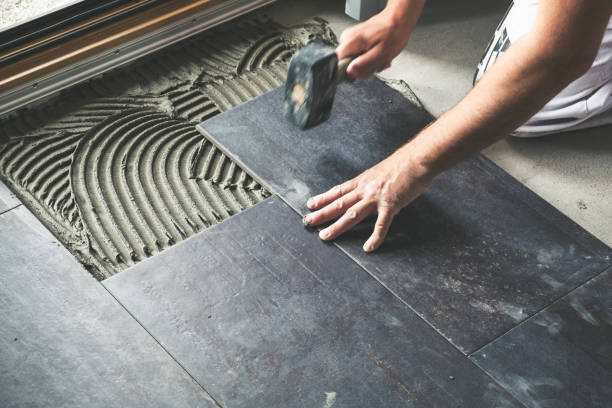
Tile installation begins with applying a layer of thin-set adhesive to the subfloor using a notched trowel. Tiles are then carefully placed in the desired pattern, using spacers to maintain consistent grout lines. Once the adhesive sets, grout is applied between the tiles, and excess grout is wiped away with a damp sponge. The floor should be left undisturbed for at least 24 hours to allow the adhesive and grout to fully cure. Afterward, sealing the grout can help protect against stains and moisture. Regular maintenance, including sweeping and mopping, will keep the tiles looking clean and well-preserved.

Copyright ©2025 Floorable. All Rights Reserved.